The Instant Pot is a favorite kitchen appliance known for its convenience and time-saving benefits. However, cooking chicken breast in an Instant Pot can sometimes result in a rubbery, tough texture. Understanding the causes behind this issue and how to fix it will ensure perfectly cooked, juicy chicken every time. This guide will explore the common reasons for rubbery chicken breast, cooking tips, and the best settings to use for tender, delicious results.
Table of contents
Why Is My Chicken Breast Rubbery in Instant Pot? Common Reasons Explained
Cooking chicken breast in an Instant Pot can be tricky if certain factors aren’t considered. Here are the most common reasons why your chicken breast might turn out rubbery:

1. How Overcooking Causes Rubbery Chicken Breast in Instant Pot
Overcooking is the primary reason for rubbery chicken breast in an Instant Pot. Chicken breast is lean meat, and extended cooking times can cause the protein fibers to tighten, making the meat tough. The Instant Pot continues to cook food even during the pressure release process, so precise timing is essential.
2. Undercooked Chicken Breast: Why It Happens in Instant Pot
Undercooking is another common issue. If the chicken breast isn’t cooked long enough, the internal temperature won’t reach the safe minimum of 165°F (75°C), leaving the meat rubbery and unsafe to eat.
3. Instant Pot Pressure Settings That Make Chicken Breast Rubbery
Using the wrong pressure setting can affect the final texture. High pressure cooks chicken faster but can cause toughness if used improperly. Low pressure is more forgiving but may require additional cooking time.
4. Not Allowing Natural Pressure Release
Quick pressure release causes a sudden temperature drop, which can shock the chicken breast and make it rubbery. Natural pressure release allows the meat to rest and retain moisture.
5. Why Frozen Chicken Can Turn Rubbery in Instant Pot
Cooking frozen chicken breast without adjusting the cooking time can lead to uneven results. The outside might be overcooked, while the inside remains undercooked and rubbery.
6. Skipping the Resting Period
Allowing the chicken breast to rest after cooking helps redistribute its juices, ensuring a tender texture. Skipping this step can leave the meat dry and tough.
How to Prevent Chicken Breast from Becoming Rubbery in Instant Pot
Cooking chicken breast in an Instant Pot requires precision and the right techniques. Follow these proven tips to avoid rubbery results and achieve perfectly tender, juicy chicken every time.

1. Correct Cooking Time to Avoid Rubbery Chicken in Instant Pot
- Fresh Chicken Breast: Cook on high pressure for 8-10 minutes depending on the size (thicker pieces need more time).
- Frozen Chicken Breast: Increase the cooking time to 12-15 minutes.
Tip: Use a meat thermometer to ensure the internal temperature reaches 165°F (75°C).
2. Choose the Correct Pressure Setting
- Use High Pressure for faster cooking but stay within recommended times to avoid overcooking.
- For more control, try Low Pressure and adjust cooking times accordingly.
3. Why Natural Pressure Release Prevents Rubbery Chicken Breast
- Let the Instant Pot release pressure naturally for 10-15 minutes after cooking. This resting time keeps the chicken moist and prevents it from turning rubbery. Avoid using the Quick Release method unless you’re in a hurry.
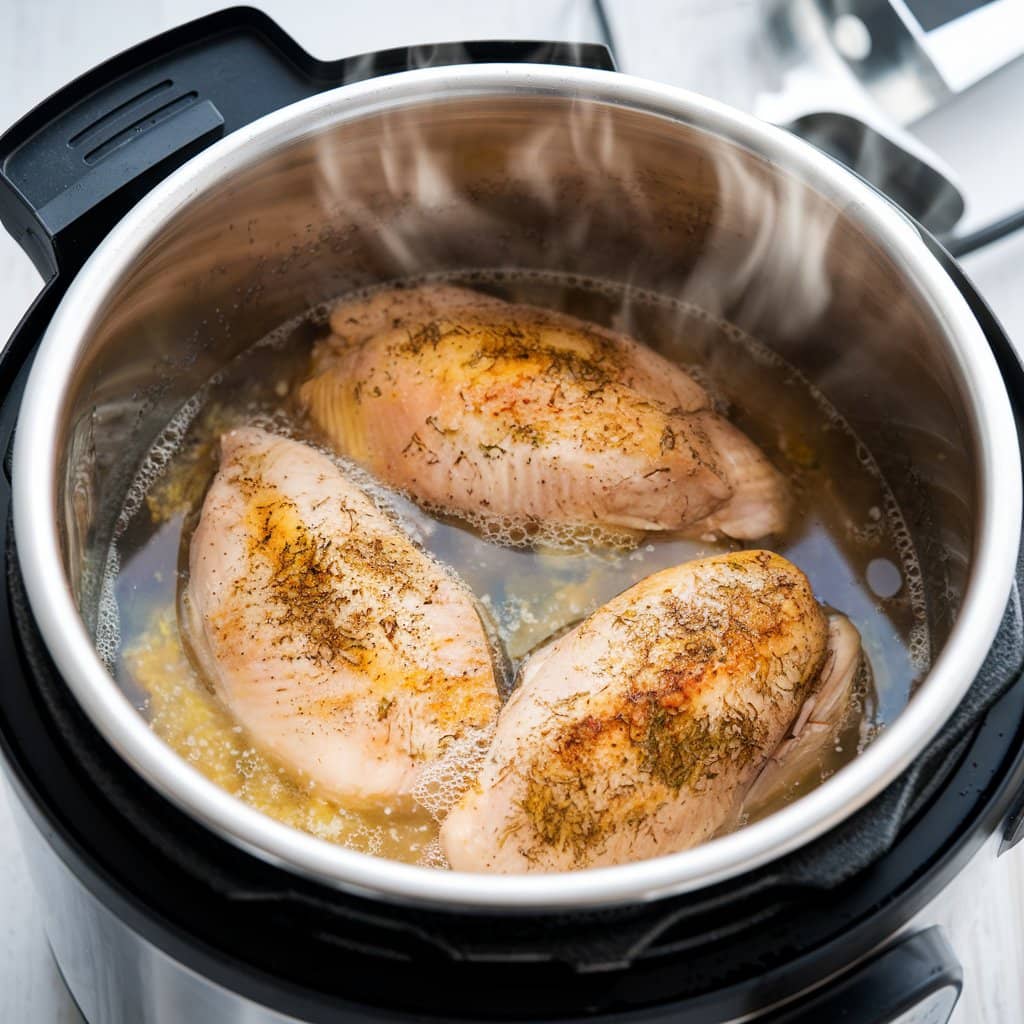
4. Add Liquid for Proper Cooking
- Always add at least 1 cup of liquid like water, broth, or sauce. The Instant Pot needs liquid to create steam and build pressure, ensuring even cooking.
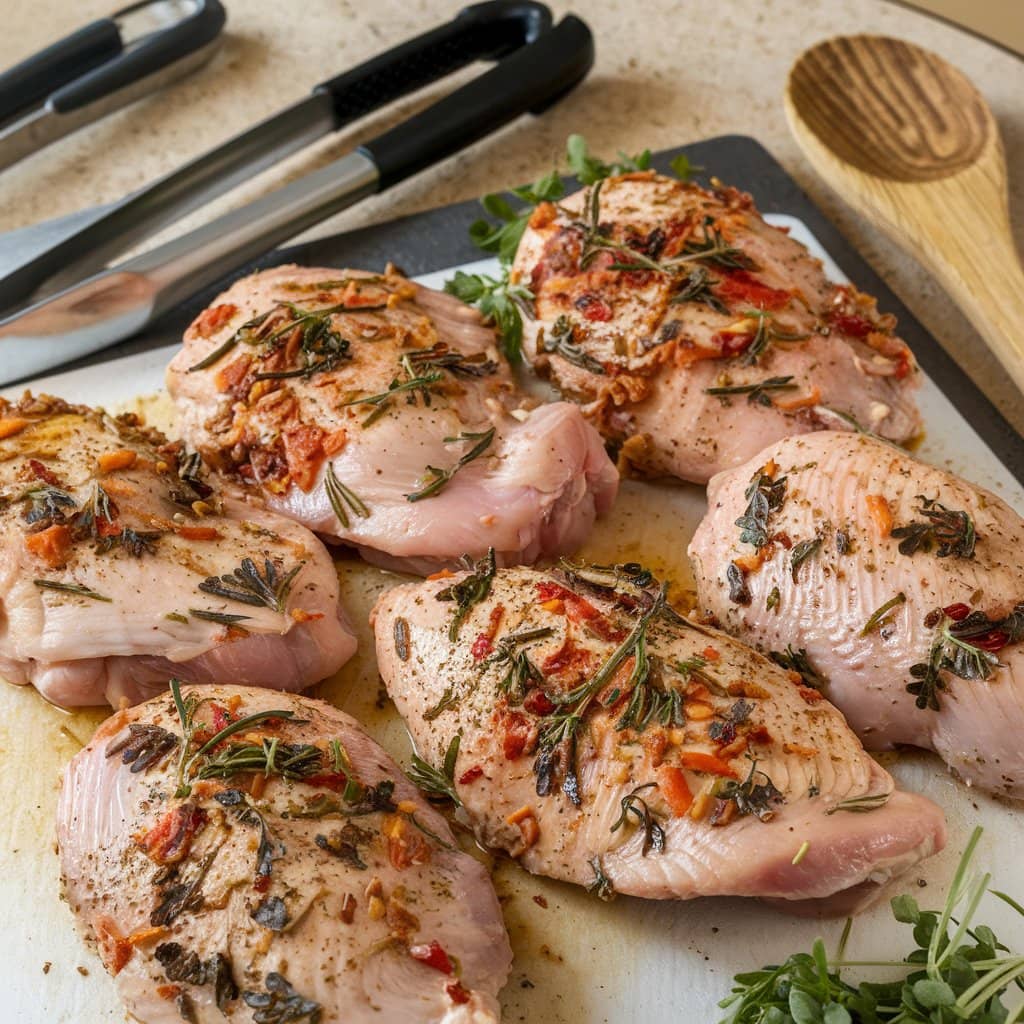
5. Season or Marinate Before Cooking
- Marinate chicken breast for at least 30 minutes before cooking for extra flavor and tenderness. Use a blend of oil, lemon juice, herbs, and spices.
- Avoid over-salting before cooking to prevent dryness.
6. Avoid Stacking Chicken Breasts
- Cook chicken breasts in a single layer to ensure even cooking. Stacking them can cause uneven results, leaving some parts rubbery or undercooked.
7. Use the Sauté Function Wisely
- Sear the chicken breast using the Instant Pot’s sauté function before pressure cooking. This creates a golden crust, adding flavor and locking in moisture.
8. Allow a Resting Period
- After removing the chicken from the Instant Pot, cover it with foil and let it rest for 5-10 minutes before slicing. This step ensures the juices redistribute throughout the meat.
Best Instant Pot Settings for Cooking Chicken Breast
To achieve perfectly cooked chicken breast in an Instant Pot, understanding the correct settings is essential. Here’s a breakdown of the best settings to ensure juicy and tender chicken:

1. Pressure Cooking Settings
- High Pressure: Use this setting for fast and efficient cooking. It’s best for fresh or thawed chicken breasts, ensuring the meat cooks quickly without losing moisture.
- Low Pressure: Use this for more delicate control if you want to avoid overcooking. It’s suitable for thinner or smaller chicken breasts.
Recommended Times:
- Fresh Chicken Breast (Boneless): 8-10 minutes on high pressure
- Frozen Chicken Breast (Boneless): 12-15 minutes on high pressure
2. Natural vs. Quick Pressure Release
- Natural Pressure Release (NPR): Let the Instant Pot naturally release pressure for 10-15 minutes after cooking. This keeps the chicken breast tender by allowing the meat to relax gradually.
- Quick Release (QR): Use this only if you’re in a rush. Be aware that QR can cause sudden moisture loss, leading to rubbery chicken.
3. Use the Sauté Function for Extra Flavor
- Before pressure cooking, use the Sauté Function to sear the chicken breast on both sides. This step locks in the juices and creates a golden-brown crust for enhanced flavor.
4. Choosing the Correct Liquid Setting
- Add at least 1 cup of liquid such as water, chicken broth, or a flavorful sauce. This ensures the Instant Pot can build pressure and prevents the chicken from sticking to the pot’s bottom.
5. Cooking from Frozen
- If using frozen chicken breasts, increase the cooking time by 3-5 minutes and separate the pieces if possible. This avoids uneven cooking and rubbery textures.
6. Avoid the “Keep Warm” Setting
- Turn off the Keep Warm setting once the cooking cycle ends. Keeping chicken warm for too long can cause it to continue cooking, making it dry and rubbery.
How to Cook Chicken Breast in Instant Pot Without It Becoming Rubbery
Follow this detailed step-by-step guide to cook tender and juicy chicken breasts in your Instant Pot.

1- Preparing the Chicken Breast
- Choose Quality Meat: Select fresh, boneless, skinless chicken breasts.
- Trim the Fat: Use a sharp knife to remove excess fat or connective tissue.
- Pound the Chicken (Optional): If the chicken breasts are uneven, gently pound them to an even thickness for more consistent cooking.
2- Proper Seasoning and Marination
- Basic Seasoning: Use salt, pepper, garlic powder, and paprika for a simple flavor base.
- Marinate (Optional): Marinate the chicken for 30 minutes to 2 hours using your favorite marinade, such as lemon-garlic or honey-soy. This enhances flavor and tenderness.
3- Preparing the Instant Pot
- Add Liquid: Pour 1 cup of chicken broth or water into the Instant Pot. This helps build pressure and prevents the chicken from sticking.
- Use the Trivet (Optional): Place a trivet in the Instant Pot to keep the chicken above the liquid, resulting in a more steamed, tender texture.
4- Cooking Instructions
- Arrange the Chicken: Place the chicken breasts in a single layer on the trivet or directly in the liquid. Avoid stacking for even cooking.
- Select the Pressure Setting:
- Set the Instant Pot to High Pressure for 8-10 minutes (for fresh) or 12-15 minutes (for frozen).
- Close the Lid: Ensure the lid is locked, and the pressure valve is set to “Sealing.”
- Start Cooking: Press “Manual” or “Pressure Cook” and set the timer according to the size and thickness of the chicken breasts.
5- Releasing Pressure
- Natural Pressure Release (NPR): Let the pressure release naturally for 10-15 minutes after the cooking cycle ends. This keeps the meat juicy and tender.
- Quick Release (Optional): If time is limited, perform a quick release but be prepared for slightly drier meat.
6- Resting the Meat After Cooking
- Remove the chicken breasts from the Instant Pot and place them on a cutting board. Cover with aluminum foil and let them rest for 5-10 minutes. This allows the juices to redistribute, ensuring a moist texture.
7- Slicing and Serving
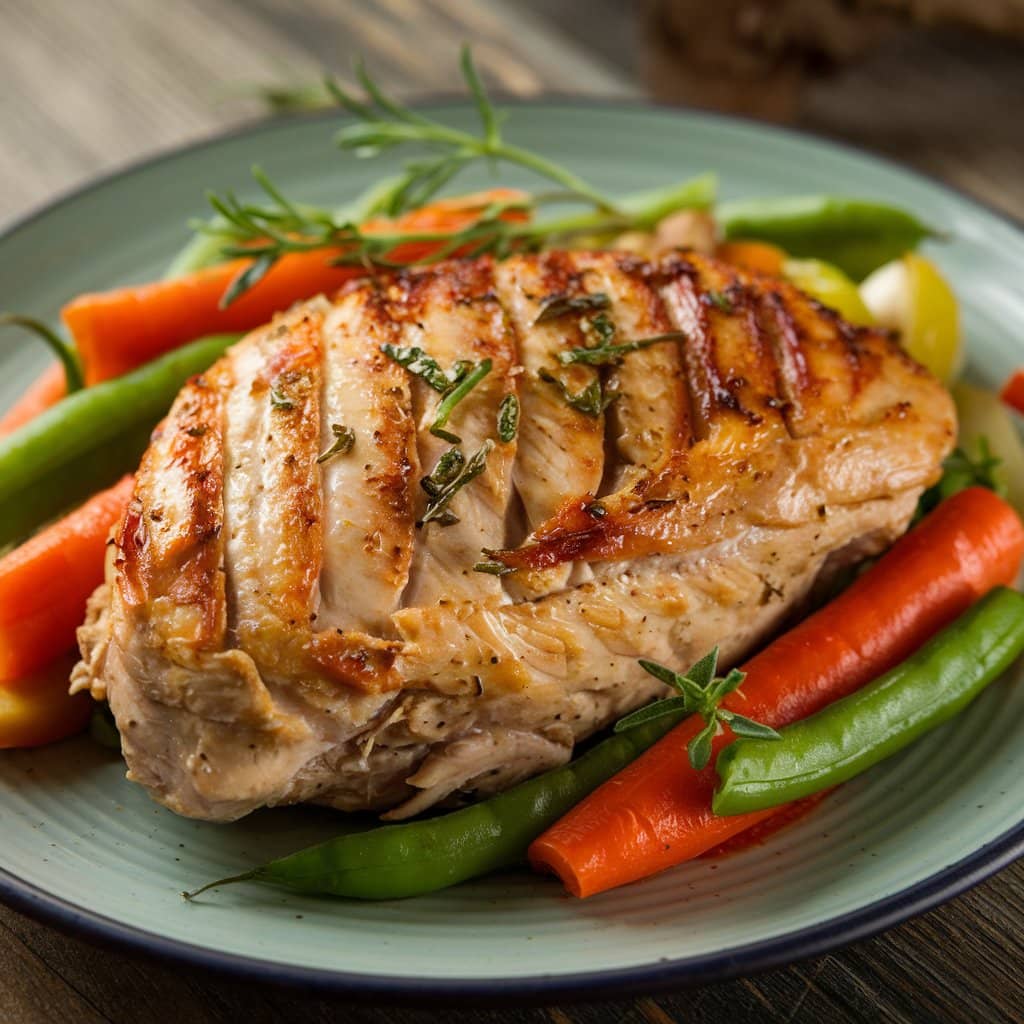
- Slice Against the Grain: Cut the chicken breasts across the grain for maximum tenderness.
- Serve: Enjoy your perfectly cooked Instant Pot chicken breast with your favorite sides like vegetables, rice, or a fresh salad.
Expert Tips for Cooking the Best Chicken Breast in an Instant Pot
To elevate your Instant Pot cooking game, here are expert tips to ensure perfectly cooked, juicy, and flavorful chicken breasts every time:
1. Use the Right Chicken Cut
- Boneless, Skinless Breasts: Ideal for quick cooking in an Instant Pot.
- Bone-In Breasts: These retain more moisture but require longer cooking times (12-15 minutes on high pressure).
- Chicken Thighs: If you prefer a more forgiving cut, use thighs as they are less likely to dry out.
2. Pre-Sear for Extra Flavor
- Use the Sauté Function on the Instant Pot to brown the chicken breasts before pressure cooking. This step caramelizes the meat’s surface, locking in juices and enhancing the overall flavor.
3. Season Generously
- Use a blend of seasonings like garlic powder, onion powder, paprika, Italian herbs, and pepper.
- Tip: Marinate the chicken breasts for a few hours with olive oil, lemon juice, and spices for deeper flavor.
4. Cook in Broth or Sauce
- Instead of plain water, cook the chicken in chicken broth, tomato sauce, or a flavorful marinade. This prevents dryness and infuses the meat with extra taste.
5. Layer with Vegetables
- Add vegetables like carrots, onions, or bell peppers to the Instant Pot. The vegetables enhance the dish’s flavor and can be served alongside the chicken.
6. Monitor the Internal Temperature
- Use a meat thermometer to check the thickest part of the chicken breast. The internal temperature should reach 165°F (75°C). This ensures the chicken is fully cooked and safe to eat.
7. Experiment with Different Cooking Techniques
- Shredded Chicken: Cook chicken breast for 12-15 minutes, then shred it using two forks. This works well for tacos, salads, and sandwiches.
- BBQ Chicken: After cooking, coat the chicken in barbecue sauce and broil it in the oven for a crispy finish.
- Creamy Chicken: Add cream-based sauces after pressure cooking to avoid curdling during the cooking process.
8. Store and Reheat Properly
- Refrigerate: Store leftover chicken breasts in an airtight container for up to 4 days.
- Freeze: Wrap them tightly and freeze for up to 3 months.
- Reheat Tip: Reheat gently with a splash of broth to maintain moisture.
FAQs About Why Chicken Breast Turns Rubbery in Instant Pot
Here are the most frequently asked questions about cooking chicken breast in an Instant Pot and how to get the best results:
1. How Long Should Chicken Breast Be Cooked in an Instant Pot?
- Fresh Chicken Breast: Cook boneless chicken breasts for 8-10 minutes on high pressure.
- Frozen Chicken Breast: Increase the cooking time to 12-15 minutes. Always check the internal temperature, ensuring it reaches 165°F (75°C) for safe consumption.
2. Why Is Natural Pressure Release Important?
Natural Pressure Release (NPR) allows the pressure inside the Instant Pot to reduce gradually. This resting period helps the chicken breast stay juicy by preventing a sudden drop in temperature, which could cause moisture loss and toughness.
3. Can Frozen Chicken Be Cooked in an Instant Pot?
Yes, you can cook frozen chicken breasts directly in the Instant Pot. Ensure the pieces are separated to allow even cooking. Add 3-5 extra minutes to the cooking time. Use a meat thermometer to check for an internal temperature of 165°F (75°C).
4. How Can I Fix Rubbery Chicken Breast?
If your chicken breast turns out rubbery, try these fixes:
- Cook Longer: If it’s undercooked, return the chicken to the Instant Pot and cook for an additional 3-5 minutes.
- Shred the Chicken: Shredding rubbery chicken and mixing it with a flavorful sauce can improve its texture and taste.
- Moisture Boost: Simmer the chicken in broth or sauce for a few minutes to rehydrate and enhance flavor.
5. What Liquid Should I Use in the Instant Pot?
Always add at least 1 cup of liquid to build pressure. Chicken broth, water, or sauces like tomato-based liquids work well. Broth enhances flavor, while water works when simplicity is preferred.
6. Can I Stack Chicken Breasts in the Instant Pot?
Stacking is not recommended, as it can cause uneven cooking. If stacking is necessary due to space constraints, separate each piece with foil or parchment paper. Be sure to check that all pieces reach an internal temperature of 165°F (75°C).
7. How Do I Store Leftover Chicken Breast?
- Refrigerator: Store cooked chicken breasts in an airtight container for up to 4 days.
- Freezer: Freeze them for up to 3 months. Thaw in the refrigerator overnight before reheating.
Conclusion
Cooking chicken breast in an Instant Pot can be incredibly convenient when done correctly. The key to avoiding rubbery chicken lies in understanding the right cooking times, pressure settings, and proper techniques like natural pressure release. Use enough liquid, avoid overcooking or undercooking, and allow the chicken to rest after cooking to lock in juices.
By following the tips and guidelines outlined in this article, you can consistently prepare tender, juicy, and flavorful chicken breasts in your Instant Pot. Experiment with different seasonings and marinades to customize your meals while keeping the texture perfect every time.

