
Have you ever watched a hummingbird dart around your garden like a tiny helicopter, its wings a blur of energy? These feathered jewels are nature’s most delightful guests, and providing them with the right nectar can make your garden a hummingbird haven. But before you rush to the store for a ready-made mix, let’s explore why homemade hummingbird nectar Recipe is the way to go.
Table of Contents
Why Hummingbirds Need Nectar for Survival
Hummingbirds are like little energy machines. With wings that beat up to 80 times per second, they need a constant supply of fuel. Nectar isn’t just a treat; it’s their primary source of energy. Think of it as their version of a morning coffee, only they need it all day long. Without a reliable source of nectar, they’d struggle to maintain their high-octane lifestyle.
The Importance of Homemade Nectar for Hummingbirds
Now, you might wonder, “Why not just buy nectar from the store?” While commercial options are convenient, they often contain unnecessary additives, including harmful dyes. Making your own nectar at home is not only safer but also much cheaper and ridiculously easy. Plus, it gives you the peace of mind that you’re doing your part to keep these tiny creatures healthy.
What is Hummingbird Nectar Recipe?
Hummingbird nectar Recipe is essentially a simple solution of sugar and water, mimicking the natural sweetness of flower nectar. Here’s the key: the ratio matters. A mix that’s too sweet can harm hummingbirds, while a weak one won’t provide enough energy.
Natural Nectar vs. Artificial Alternatives
Hummingbirds naturally feed on nectar found in flowers, which is around 20–25% sugar. Artificial alternatives often include chemicals, preservatives, or dyes that might be harmful. By making it yourself, you’re replicating what they’d find in nature without the risks.
Benefits of Homemade Hummingbird Nectar Recipe
Homemade nectar is:
- Cost-effective: A bag of sugar can last for weeks!
- Safe: No dyes, no preservatives—just pure energy.
- Environmentally friendly: Fewer plastic bottles and less waste.
So, grab your sugar, and let’s make the magic happen!
How to Make Hummingbird Nectar Recipe: A Step-by-Step Guide
Ready to whip up a batch of hummingbird nectar recipe? Don’t worry; it’s as easy as making a cup of tea. Let’s break it down.

Simple Hummingbird Nectar Recipe
Ingredients Needed:
- 1 cup of granulated white sugar
- 4 cups of water
(That’s it! No honey, no brown sugar, and definitely no red dye.)
Step-by-Step Preparation Instructions:
- Boil the Water: Bring 4 cups of water to a rolling boil. This step helps dissolve the sugar completely and kills any bacteria.
- Add the Sugar: Stir in 1 cup of sugar until it’s completely dissolved. No grains should remain.
- Cool the Solution: Let the mixture cool to room temperature. You don’t want to scald your hummingbird friends!
- Fill the Feeder: Pour the nectar into a clean feeder, and you’re good to go.
Common Mistakes to Avoid When Making Nectar
- Using Honey or Brown Sugar: These can ferment quickly and make the nectar toxic.
- Skipping the Boiling Step: This can lead to bacteria growth, which might harm the birds.
- Adding Red Food Coloring: While the bright red hue might seem attractive, it’s unnecessary and potentially harmful.
“The simpler, the better. Stick to the classic sugar and water mix—it’s all they need!”
Tips for Perfect Nectar Every Time
- Always use granulated white sugar. It’s closest to the sucrose found in natural nectar.
- Change the nectar every 2–3 days, especially in hot weather, to prevent spoilage.
- Clean the feeder thoroughly each time to keep it bacteria-free.
Storing and Maintaining Hummingbird Nectar Recipe
So, you’ve mastered the art of making hummingbird nectar recipe great job! But what about storing it? And how do you ensure it stays fresh in your feeders? Don’t worry; I’ve got you covered with these practical tips.
Best Practices for Storing Nectar
Homemade nectar doesn’t contain preservatives, which is great for the birds but also means it can spoil quickly. Here’s how to store it properly:
- Use an Airtight Container: After preparing your nectar, pour the excess into a clean, airtight container. Glass jars work best because they don’t absorb odors or chemicals.
- Refrigerate It: Store the nectar in the fridge for up to one week. This keeps it fresh and safe for the birds.
- Label the Date: Write the preparation date on the container so you know when it’s time to make a new batch.
“When in doubt, toss it out. If the nectar looks cloudy or smells off, it’s time to replace it.”
How Often to Replace Nectar in Feeders
Even the best nectar can spoil, especially in hot weather. Here’s a simple guide:
- Hot Weather (85°F or higher): Change the nectar every 1–2 days.
- Mild Weather (70°F–85°F): Replace it every 2–3 days.
- Cool Weather (below 70°F): Every 4–5 days should suffice.
Why so frequent? Because spoiled nectar can ferment, growing harmful mold and bacteria that might make hummingbirds sick. Think of it like leaving juice in the sun—not exactly appetizing, right?
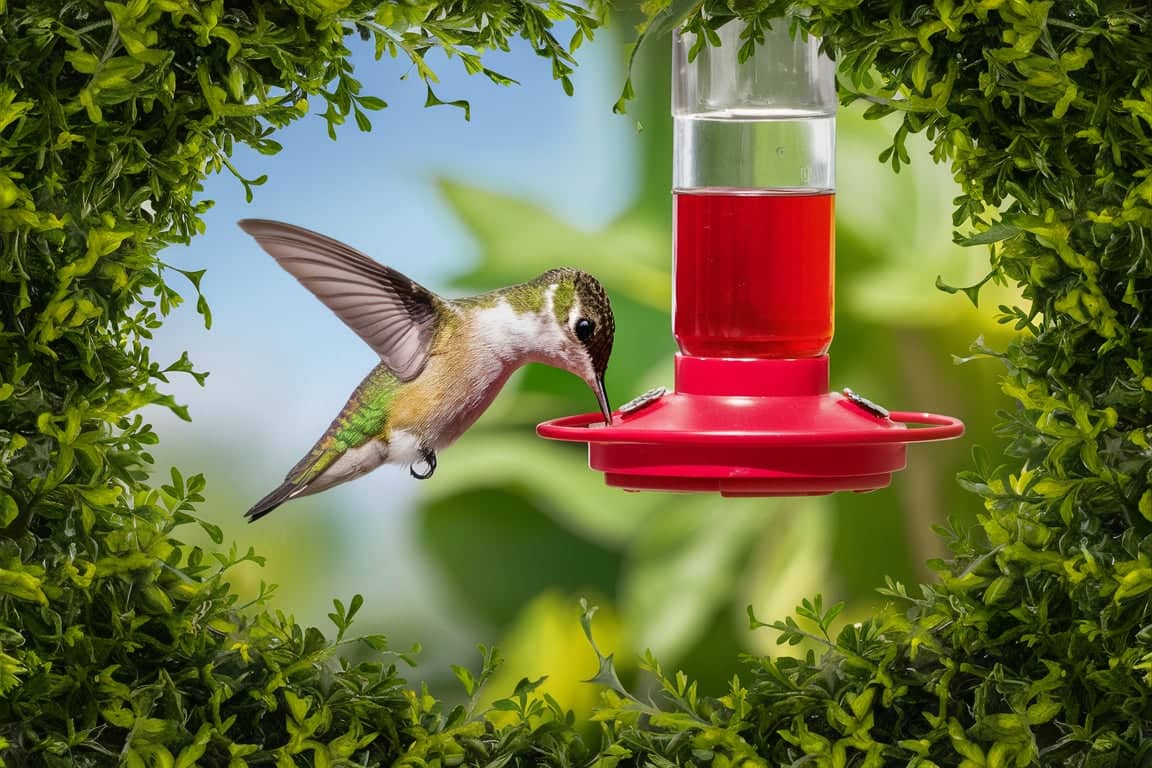
Choosing the Right Hummingbird Feeder
Not all feeders are created equal! Picking the right one can make a big difference in attracting hummingbirds and keeping the nectar fresh.

Types of Feeders and Their Pros and Cons
Here are the most common types of hummingbird feeders and what to consider:
- Dish Feeders: These are simple, easy to clean, and less likely to leak. However, they might not hold as much nectar.
- Bottle Feeders: These can store more nectar and are great for high-traffic gardens, but they’re prone to leaking and need frequent cleaning.
- Window Feeders: Perfect for up-close viewing, but they might not attract as many birds as larger feeders in open spaces.
How to Clean and Maintain Feeders
Keeping feeders clean is crucial for hummingbird health. Dirty feeders can harbor mold and bacteria, which are harmful to these tiny creatures. Here’s how to do it:
- Rinse Daily: Even if you don’t change the nectar, rinse the feeder with hot water to prevent sugar buildup.
- Deep Clean Weekly: Soak the feeder in a solution of 1 part white vinegar to 4 parts water. Scrub it with a bottle brush and rinse thoroughly.
- Avoid Soap: Some soaps can leave residues that affect the taste of nectar. Stick to vinegar or plain hot water.
“A clean feeder is a happy feeder. Think of it as washing the dishes for your tiny guests!”
Problems and Solutions in Feeding Hummingbirds
Feeding hummingbirds is rewarding, but it’s not without its challenges. Here’s how to tackle some common issues.
Preventing Nectar Spoilage and Fermentation
Spoiled nectar is a no-go for hummingbirds. To keep it fresh:
- Follow the recommended replacement schedule based on weather.
- Avoid placing feeders in direct sunlight, as heat speeds up fermentation.
- Use smaller feeders if you notice nectar going to waste—this minimizes leftovers.
Keeping Ants and Other Insects Away
Insects love sweet nectar too, but their presence can deter hummingbirds. Here are some solutions:
- Use Ant Moats: These are small water-filled barriers that ants can’t cross.
- Apply Petroleum Jelly: A thin layer on the feeder pole can stop ants in their tracks.
- Clean Spills Immediately: Sticky residue attracts insects, so keep the area clean.
Avoiding Harmful Chemicals in Feeders
Many well-meaning bird enthusiasts unknowingly use harmful products. To protect your hummingbirds:
- Never use bleach or harsh detergents to clean feeders.
- Skip pesticides or sprays near your feeders.
- Always double-check that feeders are free from residues after cleaning.
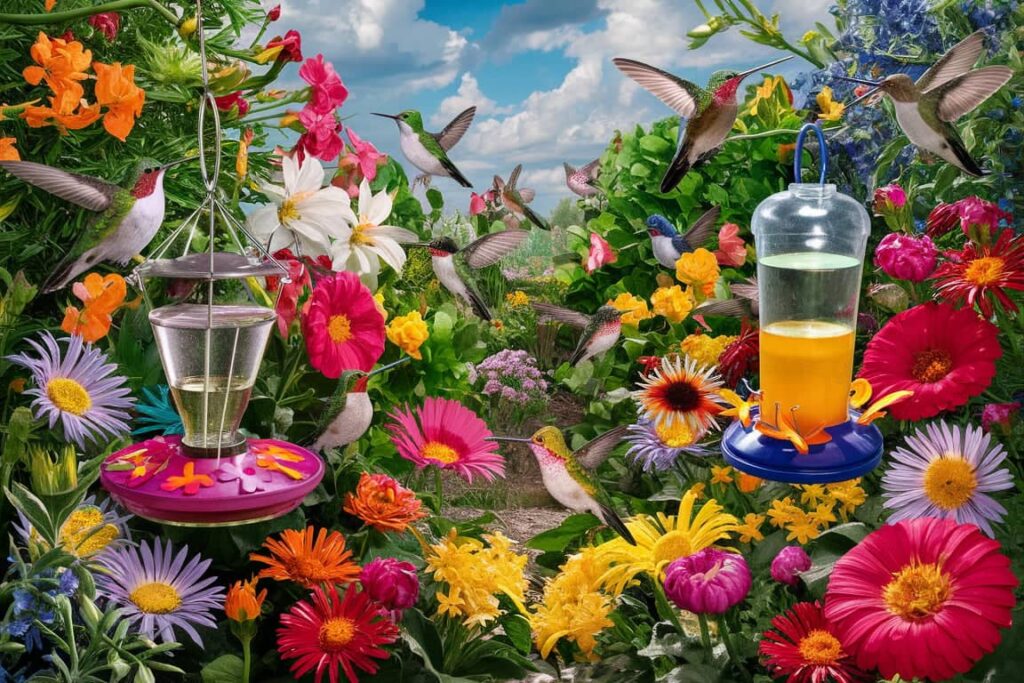
Attracting More Hummingbirds to Your Garden
Want your yard to become the ultimate hummingbird hangout? It’s easier than you think! The right combination of feeders, flowers, and placement can turn your garden into a buzzing paradise.
Ideal Placement for Hummingbird Feeders
Hummingbirds are particular about where they feed. Here’s how to position your feeders for maximum visits:
- Keep Feeders in the Shade: This prevents nectar from spoiling too quickly.
- Provide Space: Place feeders at least 10–15 feet apart to avoid territorial disputes.
- Make Them Visible: Position feeders near brightly colored flowers or in open areas where birds can easily spot them.
Complementing Feeders with Native Plants
Feeders are great, but nothing beats natural nectar. Adding native flowering plants to your garden can attract even more hummingbirds. Consider these favorites:
- Bee Balm: Vibrant and full of nectar, it’s a hummingbird magnet.
- Salvia: Available in many colors, salvia is another top choice.
- Trumpet Vine: Its tubular flowers are tailor-made for hummingbirds.
“Think of your garden as a buffet. The more options you provide, the more guests will show up!”
Seasonal Nectar Tips for Hummingbirds
Feeding hummingbirds isn’t just a summer activity—it’s a year-round commitment for many bird lovers. Hummingbirds face different challenges depending on the season, and adjusting your nectar and feeding habits can make a huge difference.
Adjusting Nectar Recipes for Hot and Cold Weather
Just like we crave iced drinks in the summer and warm beverages in the winter, hummingbirds need their nectar adjusted to suit the weather.
- Hot Weather Adjustments:
High temperatures can speed up nectar fermentation, making it spoil faster. To counter this: - Use smaller feeders to minimize waste.
- Place feeders in shaded areas to keep the nectar cool.
- Change the nectar more frequently, even daily, if temperatures soar above 90°F.
- Cold Weather Adjustments:
In colder months, nectar can freeze, cutting off a crucial food source. To help: - Use feeders with built-in heaters or insulate the feeder with a sock or cozy.
- Bring the feeders inside at night and put them back out early in the morning.
- Keep the 4:1 water-to-sugar ratio, as a stronger solution can be harmful to birds.
“Think of your feeders as tiny coffee stations for your hummingbirds—warm and welcoming, no matter the season.”
Migratory Patterns and Feeding Schedules
Hummingbirds are known for their impressive migrations, traveling thousands of miles each year. During these journeys, your feeders can serve as essential pit stops.
- Spring Migration: Start putting out feeders in early spring, even before you see your first hummingbird. Scouts often arrive weeks ahead of the main group.
- Fall Migration: Keep feeders up for a few weeks after the last hummingbird sighting. Late migrators or stragglers might still need fuel.
By adapting your feeding schedule to migration patterns, you’ll support hummingbirds during their most energy-intensive journeys.
The Science Behind Hummingbird Nutrition
Hummingbirds’ dietary needs are as fascinating as their flight patterns. Let’s take a closer look at why nectar is such a vital part of their diet.
What Makes Nectar an Essential Food Source?
Nectar is primarily composed of sucrose, which provides quick energy for hummingbirds’ high metabolism. Imagine burning thousands of calories a day just to stay alive—that’s what these tiny birds do! Nectar serves as their “fast fuel,” giving them the energy needed for rapid wing beats and constant movement.
- Did you know? A hummingbird can consume up to half its body weight in sugar every day!
How Hummingbirds Process Sugar for Energy
Hummingbirds have incredibly efficient digestive systems. The sugar from nectar is rapidly absorbed and converted into energy within minutes. This quick turnaround is crucial because they need to refuel constantly. Think of their metabolism as a sports car engine—powerful but always thirsty for fuel.
“Feeding hummingbirds is like topping off a race car—they need high-octane fuel to keep going.”
Frequently Asked Questions About Hummingbird Nectar Recipe
Still have questions? You’re not alone! Here are answers to some of the most common questions about feeding hummingbirds.
Is It Safe to Add Red Food Coloring to Nectar?
Short answer: No. While hummingbirds are attracted to red, the color of your feeder is enough to draw them in. Adding red dye to the nectar can be harmful to their health. It’s like drinking sugary water with food coloring—not something you’d want to do, right?
What Happens if I Forget to Change the Nectar?
Leaving nectar in the feeder too long can lead to:
- Fermentation, which produces alcohol and can poison the birds.
- Mold growth, which can cause fungal infections in hummingbirds.
If you’ve forgotten to change the nectar, dump it out, thoroughly clean the feeder, and refill it with fresh nectar.
Can I Use Honey or Artificial Sweeteners?
Absolutely not. Honey can ferment quickly and cause bacterial infections, while artificial sweeteners don’t provide the energy hummingbirds need. Stick to plain white sugar—it’s the closest match to natural flower nectar.
Conclusion: The Joy of Feeding Hummingbirds and Supporting Nature
Feeding hummingbirds is more than just a backyard hobby—it’s a way to connect with nature, support wildlife, and experience the magic of these incredible creatures up close. By providing fresh nectar and maintaining a clean, welcoming environment, you’re offering hummingbirds a safe haven that can sustain them through their incredible journeys.
Why Feeding Hummingbirds Brings So Much Joy
There’s something truly special about watching a hummingbird hover gracefully, its tiny wings beating faster than your eyes can follow. It’s like having a slice of the natural world right outside your window—a moment of peace and wonder in our often busy lives.
Hummingbirds also return the favor by acting as pollinators, helping your garden thrive. Think of them as nature’s little helpers, spreading beauty and life as they flit from flower to flower.
“Feeding hummingbirds is like inviting joy into your backyard—it’s simple, rewarding, and good for the planet.”
Final Tips for Creating a Hummingbird-Friendly Environment
If you’re ready to take your hummingbird habitat to the next level, here are a few final tips to keep in mind:
- Diversify Food Sources: While nectar is essential, planting native flowers provides natural food and encourages more frequent visits.
- Provide Water Sources: Hummingbirds love to bathe and drink, so consider adding a shallow fountain or misting feature.
- Avoid Pesticides: Pesticides can contaminate nectar and harm hummingbirds. Opt for organic gardening methods to keep them safe.
- Be Patient: It might take some time for hummingbirds to discover your feeders. Once they do, they’ll likely return year after year.
A Note of Encouragement
If you’ve made it this far, you’re officially a hummingbird enthusiast! Whether you’re new to feeding hummingbirds or a seasoned pro, every effort you make contributes to their survival and well-being. The more we learn about these amazing creatures, the better we can protect them and enjoy their presence for generations to come.
Call to Action
Ready to turn your backyard into a hummingbird paradise? Start today by whipping up a batch of homemade nectar and setting up your feeders. Then, sit back and enjoy the show—you’ll soon discover that hummingbirds bring a little magic wherever they go.
Have questions or tips of your own? Share them in the comments below! Let’s build a community of hummingbird lovers who inspire each other to care for these incredible birds.
Final Thoughts
Feeding hummingbirds is a simple yet powerful way to connect with nature. By following the steps outlined in this guide, you’ll not only support these tiny creatures but also create a peaceful, joyful space for yourself. And who wouldn’t want that?
Remember: every drop of nectar counts, and every effort matters. So go ahead, make that first batch, and let the hummingbird magic begin!