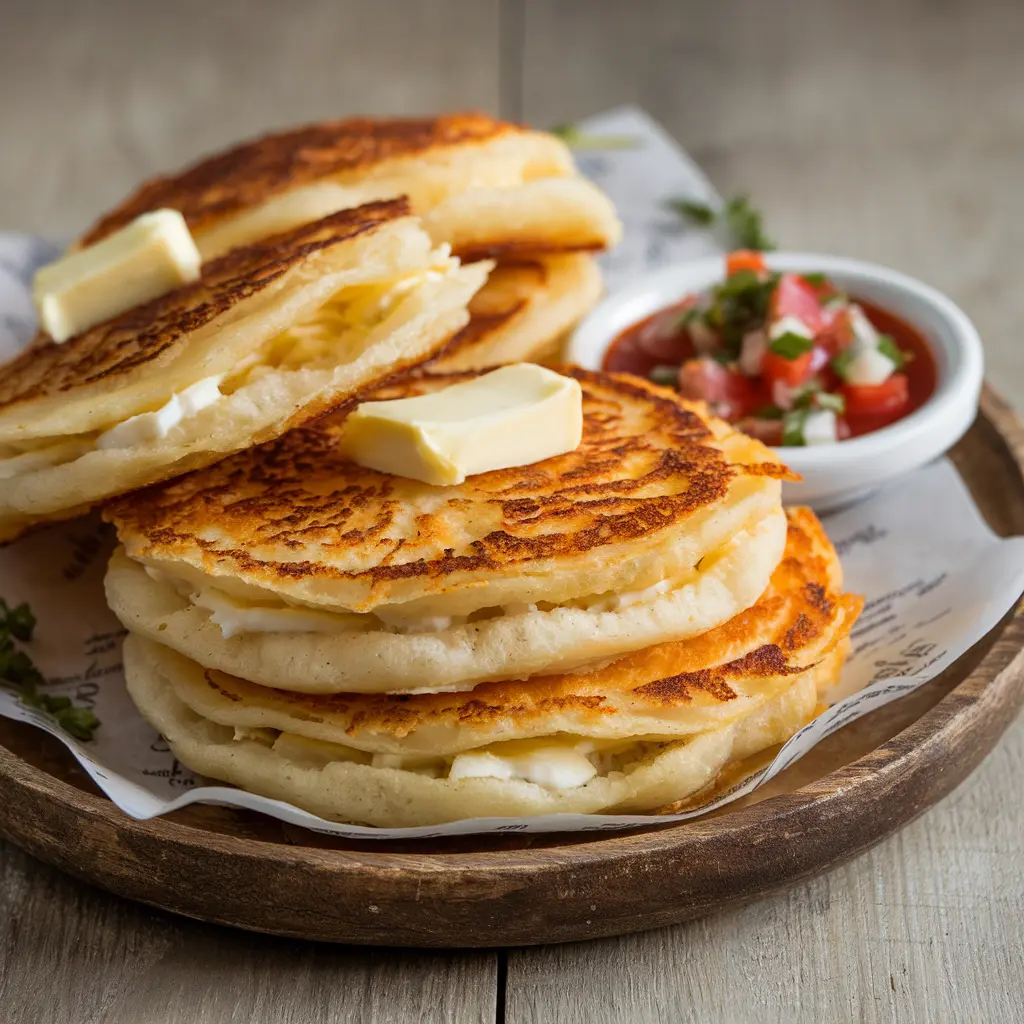
Arepas, the beloved round cornmeal cakes, hold a cherished spot in the culinary traditions of Latin America. For centuries, these delicious cakes have been a staple in households across the region. In fact, their history can be traced back to the indigenous peoples of Venezuela and Colombia, where Homemade arepas were first created using locally harvested corn. Over time, Homemade arepas have transcended borders, becoming a favorite comfort food for people worldwide.
Moreover, their versatility makes them suitable for any meal of the day. Whether you enjoy them for breakfast, lunch, or dinner, their crispy exterior and soft, tender interior are sure to satisfy. Additionally, arepas are incredibly simple to make, requiring only a few basic ingredients like cornmeal, water, and salt. Even so, their simplicity allows for endless customization, from stuffing them with savory fillings to topping them with your favorite spreads.
All in all, arepas are more than just food—they are a connection to culture, history, and family. So, are you ready to learn how to make these versatile treats in your own kitchen? Let’s dive in!
Table of contents
What Are Homemade Arepas?
Arepas are round, flat cakes made primarily from cornmeal, water, and salt. They are a staple in many Latin American households, particularly in Venezuela and Colombia, where they are a central part of daily meals. The versatility of arepas lies in their ability to be served plain, stuffed, or topped with an array of fillings and accompaniments.
These cornmeal cakes have a unique texture, often crispy on the outside and soft or slightly chewy on the inside, depending on how they are cooked. While traditional arepas are made using pre-cooked cornmeal, modern variations can include added ingredients like cheese, herbs, or even sweeteners.
Homemade Arepas Cultural Significance
In Venezuela and Colombia, arepas are more than just food; they are a cultural symbol. In Venezuela, arepas are often filled with meats, cheeses, and vegetables, transforming them into hearty meals. Colombians tend to enjoy their arepas with simpler accompaniments, such as butter or cheese. Regardless of the preparation, they represent comfort, community, and heritage.
Regional Variations
Arepas vary significantly from region to region, reflecting local tastes and ingredients:
- Venezuelan Arepas: Known for being stuffed with flavorful fillings, such as shredded beef (as in “reina pepiada”) or black beans and cheese.
- Colombian Arepas: Often thinner and eaten as a side dish with meals. They may be topped with melted cheese or simply served plain.
- Other Variants: Modern interpretations of arepas can include sweet versions made with panela (unrefined sugar) or gluten-free options using alternative flours.
A Timeless Tradition
Dating back to pre-Columbian times, arepas have endured as a cherished food, primarily because of their simplicity and adaptability. Even now, they continue to be a beloved dish, celebrated for their rich history and delicious versatility. Whether enjoyed in homes or featured in restaurants, arepas have stood the test of time, remaining a symbol of comfort and culinary creativity.
Key Ingredients for Arepas
One of the reasons arepas are so popular is their simplicity. You only need a few basic ingredients to create the perfect dough. Despite their minimalism, these ingredients are essential for achieving the characteristic flavor and texture of authentic arepas.
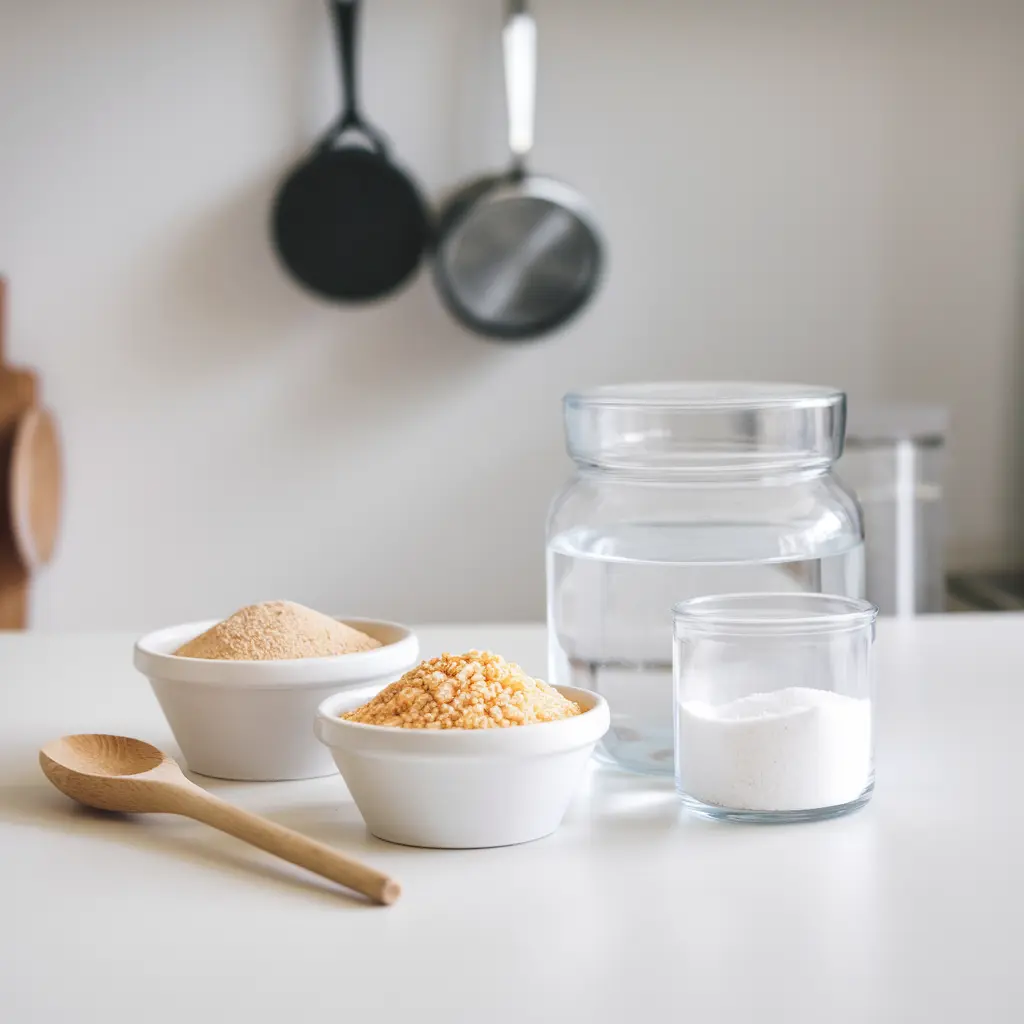
Main Ingredients
- Pre-Cooked Cornmeal
The foundation of any arepa recipe is pre-cooked cornmeal, known as masarepa or harina precocida. Brands like Harina PAN are widely used due to their fine texture and consistent results. Regular cornmeal or flour won’t work as a substitute, as they lack the specific processing needed for the dough to bind properly. - Water
Lukewarm water is used to hydrate the cornmeal, creating a pliable dough that can be easily shaped. It’s important to add the water gradually while mixing to ensure the right consistency. - Salt
A pinch of salt enhances the natural flavor of the cornmeal, making even plain arepas a satisfying treat.
Optional Ingredients for Homemade Arepas
- Cheese
Adding grated cheese to the dough creates a richer, more indulgent arepa. Queso blanco, mozzarella, or cheddar are popular choices, depending on regional preferences. - Butter
Including a small amount of melted butter in the dough adds moisture and a subtle creaminess to the finished arepas. - Sweeteners
For dessert-style arepas, sugar or panela (unrefined cane sugar) can be added for a hint of sweetness. - Herbs and Spices
Fresh herbs like cilantro or spices like cumin can be incorporated into the dough for a unique twist on the traditional recipe.
Ingredient Tips for Success
- Quality Matters: Always use high-quality pre-cooked cornmeal to ensure smooth dough without clumps.
- Measure Carefully: Balancing the ratio of water to cornmeal is crucial. Too much water makes the dough sticky, while too little makes it dry and crumbly.
- Experiment Freely: The beauty of arepas lies in their adaptability. Feel free to experiment with different add-ins to suit your taste.
Substitutions and Dietary Modifications
- For a gluten-free version, ensure the cornmeal is certified gluten-free.
- Vegan arepas can be made by omitting butter and cheese or using plant-based alternatives.
- For a healthier option, whole-grain cornmeal can replace refined varieties, adding a nuttier flavor and more fiber.
Tools Needed for Preparation the Homemade Arepas
Making homemade arepas doesn’t require fancy equipment. In fact, with just a few basic kitchen tools, you can craft authentic arepas with ease. Furthermore, each tool plays a crucial role in the process, ensuring the dough is mixed properly, shaped consistently, and cooked to perfection. For instance, a mixing bowl helps combine the ingredients evenly, while a skillet or griddle creates the ideal crispy exterior. Ultimately, these simple tools make it possible for anyone to enjoy delicious, homemade arepas.
Essential Tools for Making homemade Arepas
- Mixing Bowl
A large mixing bowl is necessary for combining the ingredients and kneading the dough. It provides enough space to ensure even mixing without spilling. - Measuring Cups and Spoons
Precision is important when measuring the cornmeal, water, and salt. Accurate measurements help achieve the ideal dough consistency. - Skillet or Griddle
A flat, heavy-bottomed skillet or griddle is perfect for cooking homemade arepas. Cast iron is a popular choice because it retains heat evenly, creating a crispy golden crust. Non-stick pans also work well for easy flipping and cleanup. - Spatula
A sturdy spatula is essential for flipping the homemade arepas without breaking them. A wide, heat-resistant spatula works best to handle delicate dough during cooking.
Optional Tools for Enhanced Results
- Arepa Press or Mold
While not necessary, an arepa press or mold can help shape perfectly uniform arepas. This tool is especially useful if you’re making large quantities or want professional-looking results. - Oven or Toaster Oven
Some recipes call for finishing arepas in the oven after they’re browned on the skillet. This ensures the interior is fully cooked, especially for thicker arepas. - Pastry Brush
If you’re adding oil or butter to the skillet or brushing the arepas for extra flavor, a pastry brush provides even application. - Cooling Rack
Placing cooked homemade arepas on a cooling rack allows excess steam to escape, keeping the crust crispy.
Alternative Tools for Beginners
If you’re just starting out and don’t have all the tools, don’t worry! Fortunately, everyday items can serve as excellent substitutes. For example, a flat plate can be used to shape the homemade arepas if you don’t have a press. Similarly, any non-stick or stainless-steel pan works just as well in place of a skillet. Most importantly, your hands are the best tools for shaping the dough when molds or presses aren’t available. In other words, you can create perfect arepas with minimal equipment.
Preparation Area Tips
- Keep It Clean: Work on a clean surface to avoid contamination.
- Use a Damp Cloth: Place a damp cloth under the mixing bowl to prevent slipping during kneading.
- Organize Ingredients: Lay out all ingredients and tools before you start to streamline the process.
Step-by-Step Recipe
Making homemade arepas is a rewarding process that combines simplicity with creativity. Indeed, it’s an opportunity to enjoy both the artistry and the tradition behind this beloved dish. With this in mind, this step-by-step guide ensures you’ll achieve perfectly cooked arepas. As a result, your arepas will be crispy on the outside and tender on the inside, delivering a perfect bite every time.
1. Prepare the Dough
- Gather Ingredients:
- 2 cups of pre-cooked cornmeal (masarepa).
- 2 ½ cups of lukewarm water.
- 1 teaspoon of salt.
- Optional: 2 tablespoons of melted butter or grated cheese for extra flavor.
- Mix the Ingredients:
- In a large mixing bowl, dissolve the salt in lukewarm water.
- Gradually add the cornmeal, mixing with your hands or a spoon to combine.
- Knead the Dough:
- Once the mixture forms a rough dough, knead it gently with your hands for about 3 minutes.
- The dough should feel smooth, moist, and slightly pliable, without being sticky. If it’s too dry, add a small amount of water. If it’s too wet, sprinkle in a little more cornmeal.
- Rest the Dough:
- Let the dough rest for 5-10 minutes. This allows the cornmeal to fully hydrate, making it easier to shape.
2. Shape the homemade Arepas
- Divide the Dough:
- Separate the dough into equal portions, roughly the size of a small orange.
- Roll each portion into a ball and flatten it into a disc about ½ inch thick.
- Smooth the Edges:
- Use your fingers to smooth the edges of each disc, ensuring they don’t crack during cooking.
3. Cook the Arepas
- Preheat the Skillet:
- Heat a skillet or griddle over medium heat. Lightly grease it with a small amount of oil or butter.
- Cook on Each Side:
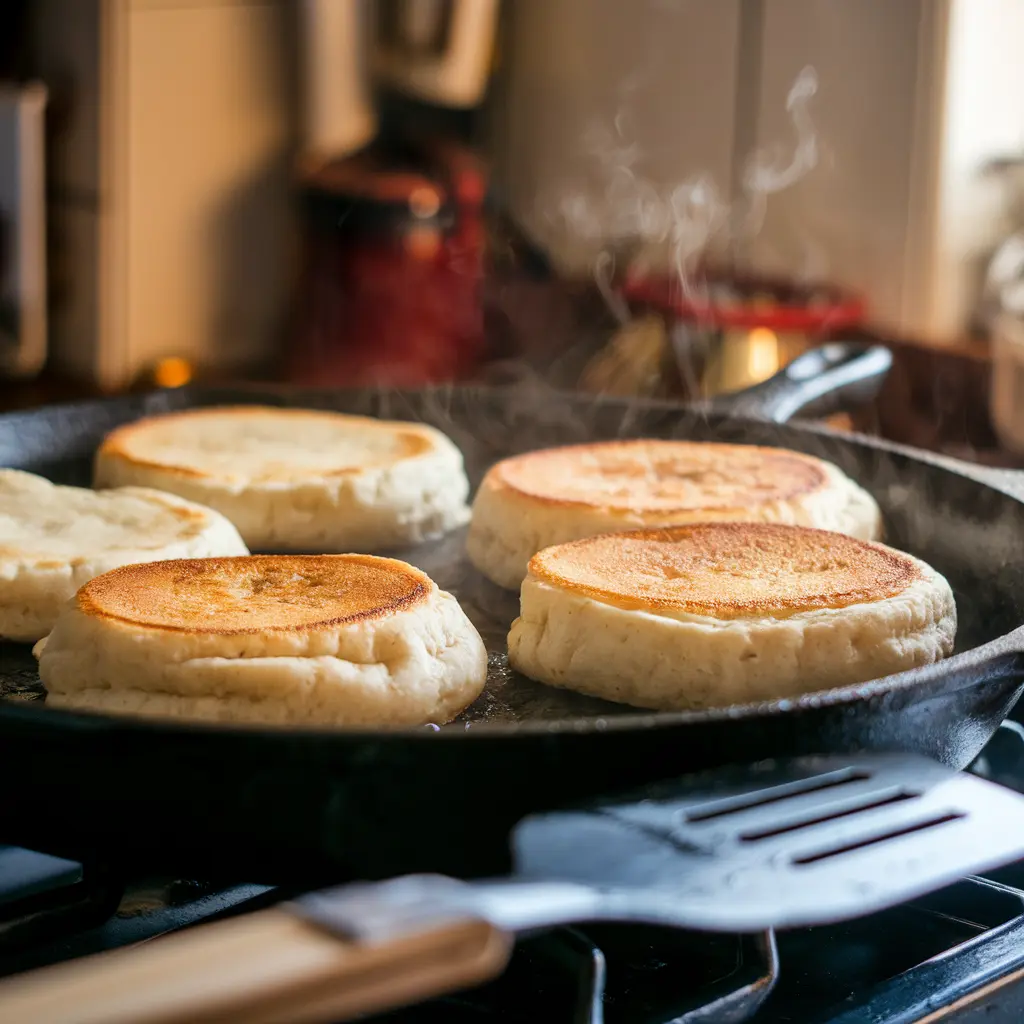
- Place the arepas on the skillet and cook for 5-7 minutes on each side, until golden brown and crispy. Avoid overcrowding the pan.
- Check for Doneness:
- Gently tap the arepas; they should sound slightly hollow when fully cooked. For thicker arepas, you may need to transfer them to a 350°F (175°C) oven for 10 minutes to ensure the inside is fully cooked.
4. Serve and Enjoy
- Plain or Filled:
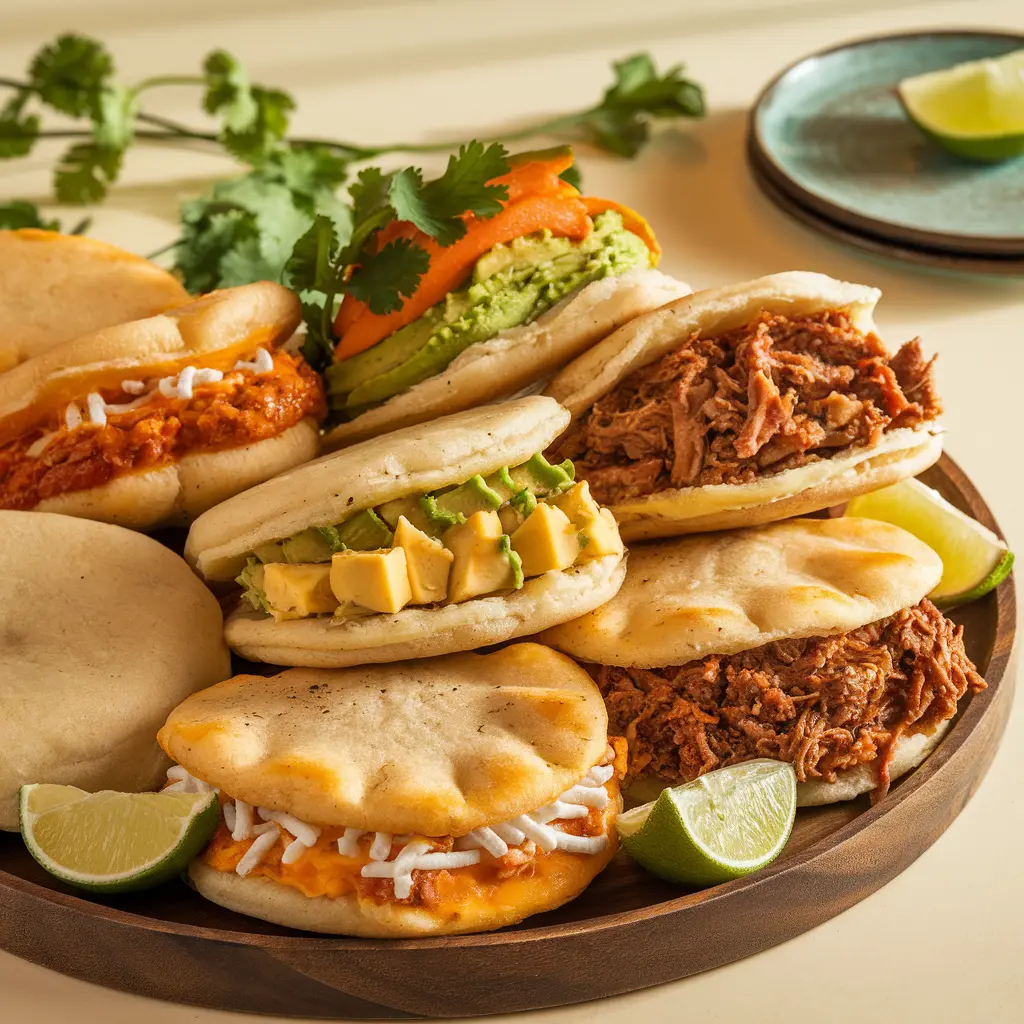
- Arepas can be enjoyed plain with butter or stuffed with fillings like shredded meat, cheese, or avocado.
- Slice and Fill:
- If stuffing, slice the arepa halfway through (like a pita pocket) and add your desired fillings.
Pro Tips for Perfect Arepas
- Always preheat the skillet to avoid uneven cooking.
- Avoid flipping the arepas too often to maintain their shape and texture.
- Adjust the thickness based on your preference: thinner arepas cook faster, while thicker ones are better for stuffing.
Variations of Arepas
One of the most exciting aspects of arepas is their versatility. With a few tweaks to the basic recipe, you can create delicious variations that cater to a variety of tastes, preferences, and dietary needs. Whether you enjoy savory, sweet, or creative options, there’s an arepa for everyone.
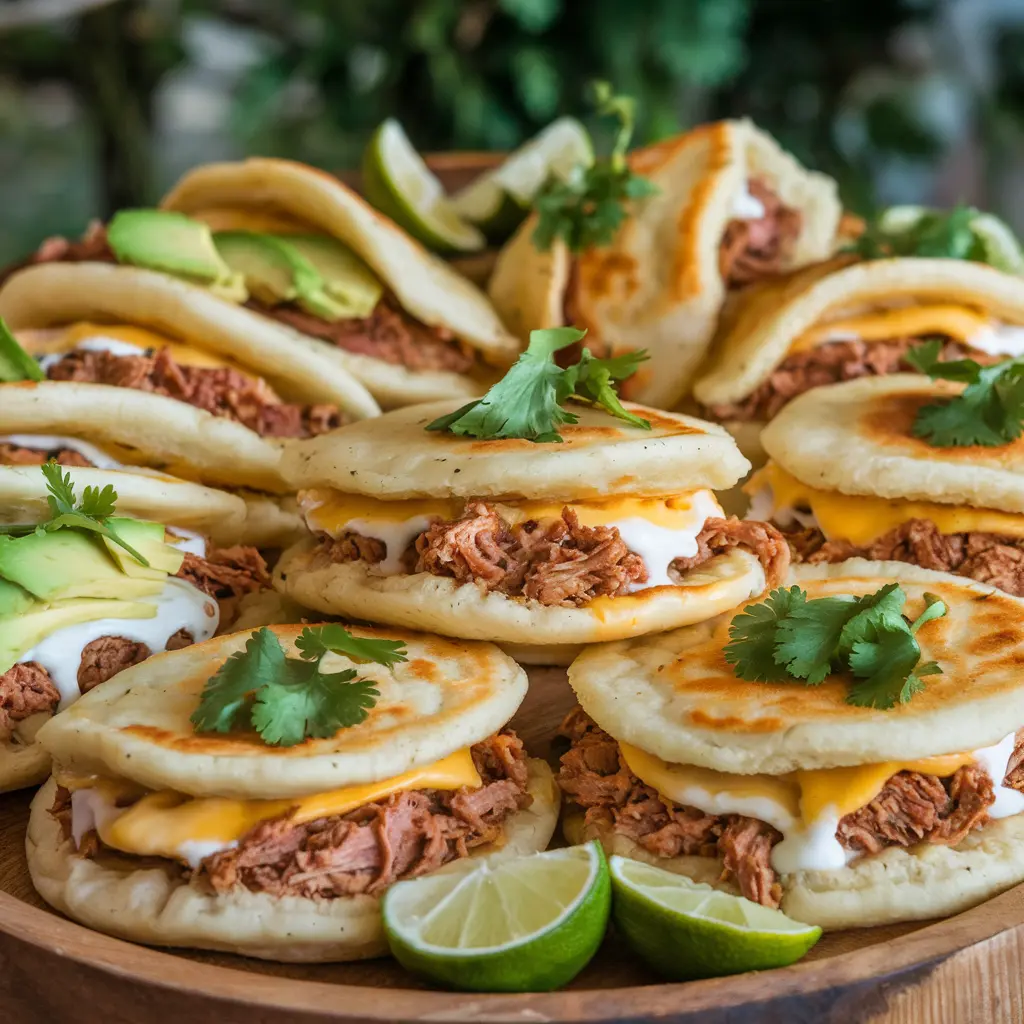
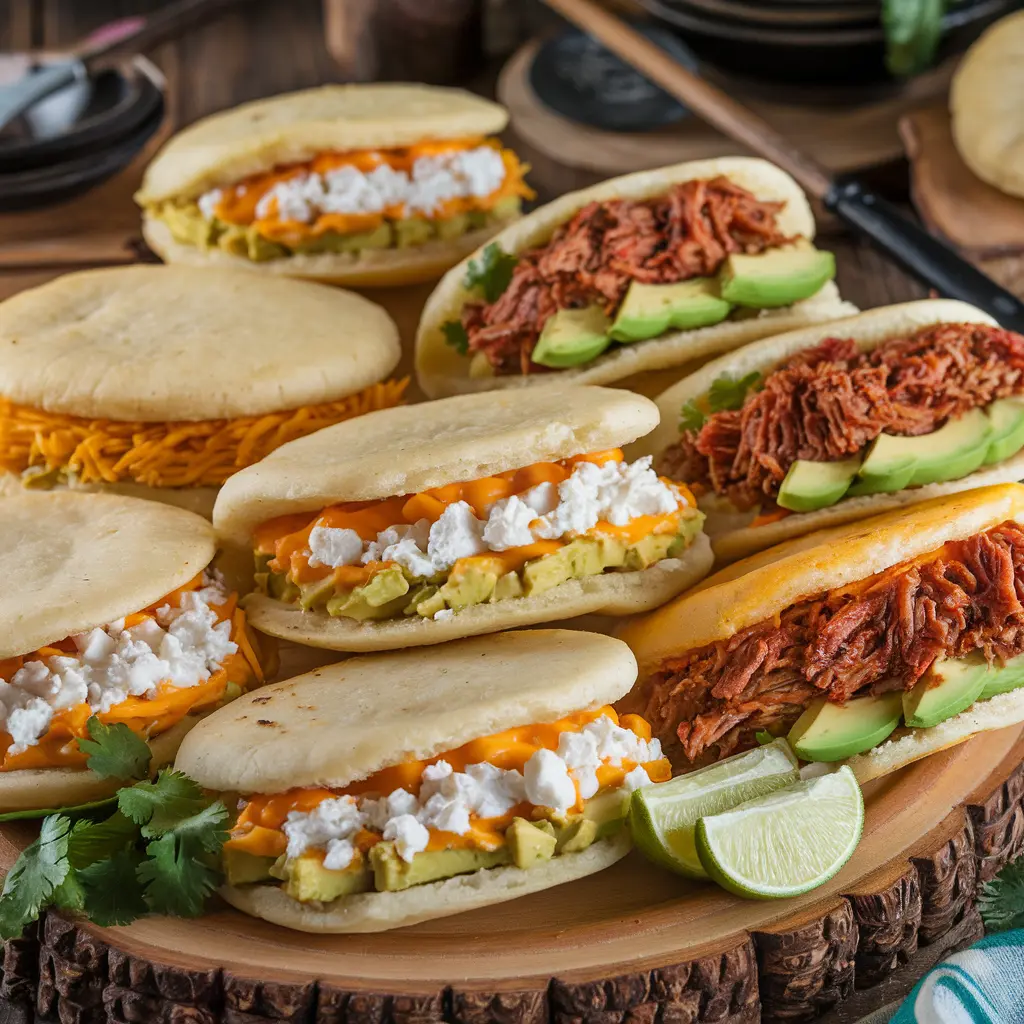
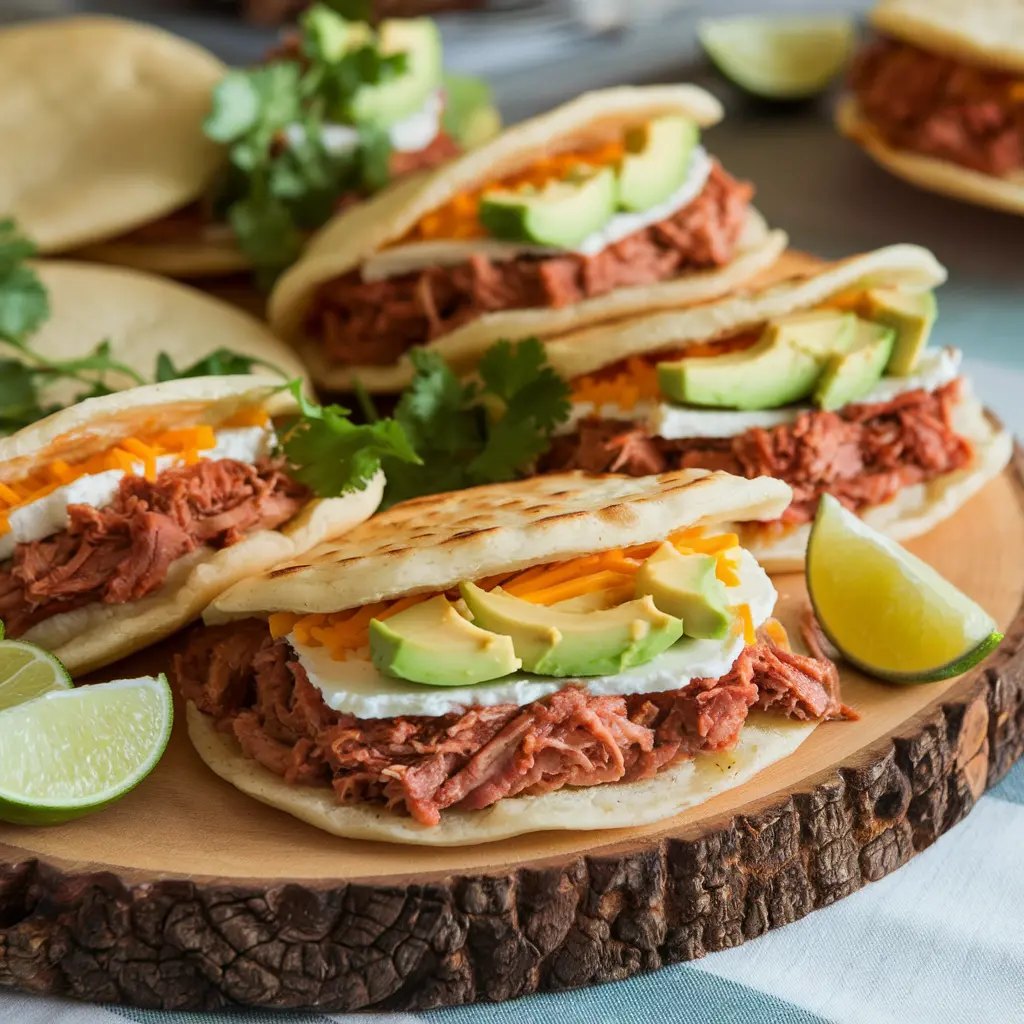
1. Cheese-Stuffed Arepas (Arepas Rellenas de Queso)
Cheese-stuffed arepas are a crowd favorite. The addition of cheese to the dough or as a filling creates a gooey, indulgent treat.
- How to Make:
- Mix shredded cheese directly into the dough before shaping. Popular choices include mozzarella, queso blanco, or cheddar.
- Alternatively, cook plain arepas, slice them open, and stuff them with cheese while still warm, allowing it to melt.
- Best Served With: A side of salsa or guacamole for dipping.
2. Sweet Arepas (Arepas Dulces)
Sweet arepas are a delightful twist on the classic recipe, often served as a dessert or snack.
- How to Make:
- Add 2-3 tablespoons of sugar or panela to the dough.
- Optionally mix in raisins, cinnamon, or a dash of vanilla extract for extra flavor.
- Cooking Tip: Frying sweet arepas enhances their caramelized flavor and golden color.
- Best Served With: Honey, chocolate sauce, or fresh fruit.
3. Whole-Grain or Healthier Arepas
For a more nutritious option, you can modify the recipe to include whole-grain ingredients.
- How to Make:
- Replace regular masarepa with whole-grain cornmeal or mix in flaxseeds or chia seeds.
- Use plant-based butter or omit it entirely for a lighter version.
- Benefits: These arepas are higher in fiber and nutrients, making them a healthy alternative.
4. Vegan and Gluten-Free Homemade Arepas
Arepas are naturally gluten-free and can easily be made vegan.
- How to Make Vegan Arepas:
- Simply omit any cheese or butter from the dough. Use plant-based spreads as toppings.
- Perfect Pairings: Avocado slices, sautéed vegetables, or vegan cheese.
5. Stuffed Arepas with Savory Fillings (Arepas Rellenas)
Stuffed arepas are a meal in themselves. The possibilities for fillings are endless. Some popular options include:
- Meat-Based Fillings: Shredded beef (as in the famous Venezuelan reina pepiada), pulled pork, or chicken.
- Vegetarian Fillings: Black beans, plantains, grilled vegetables, or scrambled eggs.
- Fusion Fillings: Experiment with international flavors like hummus, curry, or even barbecue pulled jackfruit.
6. Mini Homemade Arepas (Arepitas)
Miniature arepas are perfect as appetizers or finger food for parties.
- How to Make:
- Shape the dough into smaller discs (around 2-3 inches in diameter).
- Cook them the same way as regular arepas, adjusting the cooking time slightly.
- Best Served With: A selection of dipping sauces like aioli, chimichurri, or spicy salsa.
7. Arepas de Choclo (Corn Arepas)
This variation, popular in Colombia, uses fresh corn to create a sweeter, more textured arepa.
- How to Make:
- Blend fresh corn kernels with the cornmeal and a touch of milk to create a softer dough.
- Fry or grill the arepas to achieve a caramelized crust.
- Best Served With: Fresh cheese or a dollop of sour cream.
Inspiration for Personalizing Arepas
- Add Herbs or Spices: Incorporate fresh herbs like cilantro or spices like cumin for an added kick.
- Mix in Veggies: Finely chopped vegetables like spinach or grated zucchini can be mixed into the dough.
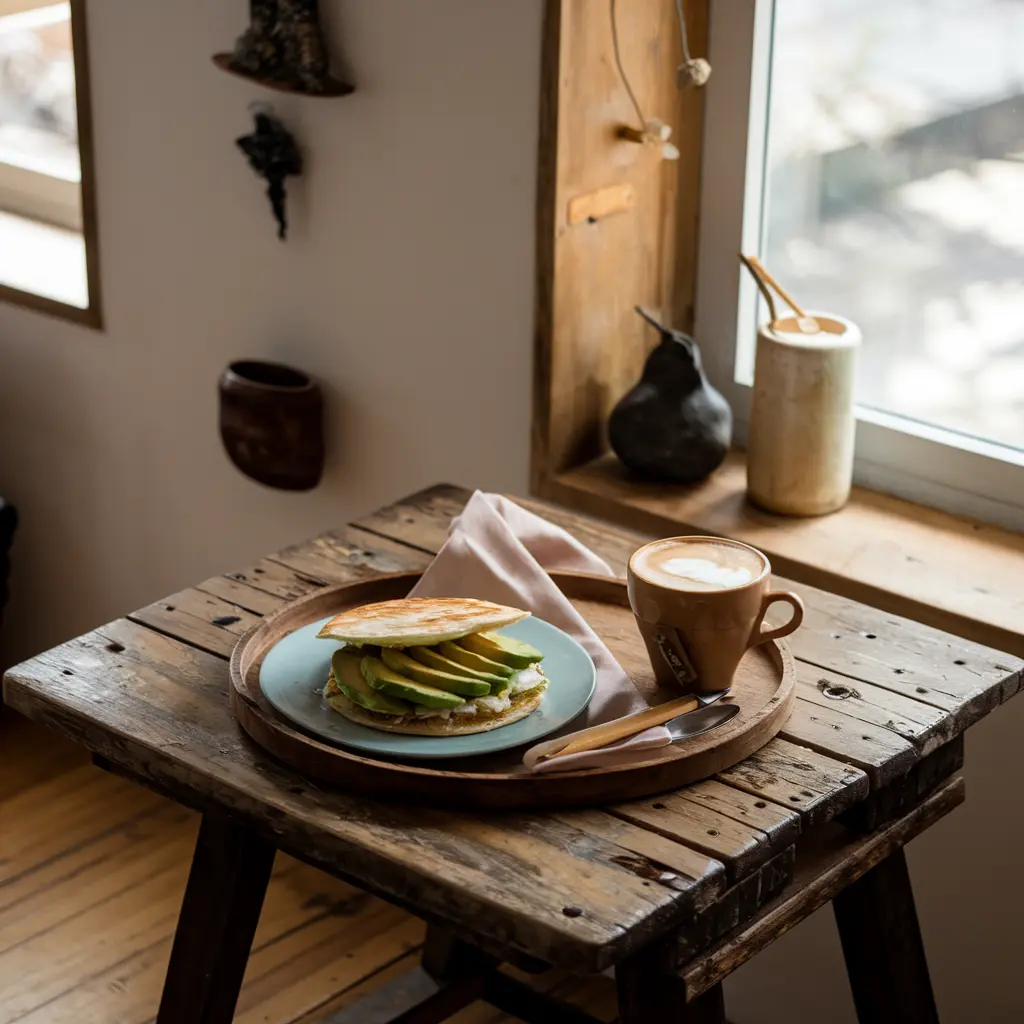
- Top Creatively: Instead of stuffing, top arepas with fried eggs, avocado slices, or even smoked salmon.
Frequently Asked Questions of Homemade Arepas
To help you master the art of making arepas, here are answers to some of the most common questions about this versatile dish.
1. What is the best type of cornmeal for arepas?
The best type of cornmeal for making arepas is pre-cooked cornmeal, often labeled as masarepa or harina precocida. Popular brands like Harina PAN or Goya are ideal. Regular cornmeal or polenta will not yield the same texture, as they are not processed for arepa preparation.
2. Can I make Homemade arepas without an oven?
Yes! Arepas can be cooked entirely on a skillet or griddle. Simply brown them on medium heat for about 5-7 minutes on each side. For thicker arepas, finishing them in an oven ensures the center cooks thoroughly, but this step can be skipped if you prefer thinner arepas or cook them longer on the skillet.
3. How do I prevent arepa dough from cracking?
Cracking usually happens when the dough is too dry. To fix this, gradually add more water until the dough becomes smooth and pliable. Letting the dough rest for 5-10 minutes also helps hydrate the cornmeal fully, reducing cracks during shaping.
4. Can Homemade arepas be made ahead of time?
Yes! You can make the dough in advance and store it in an airtight container in the refrigerator for up to 24 hours. Cooked arepas can also be stored in the fridge for up to 3 days or frozen for up to 2 months. Reheat them in a skillet, oven, or toaster for the best texture.
5. Are arepas healthy?
Arepas are naturally gluten-free and can be a healthy option, especially when made with whole-grain cornmeal or filled with nutritious ingredients like vegetables and lean proteins. They are a good source of carbohydrates and can be adapted to fit various dietary needs.
6. What are the best fillings for Homemade arepas?
Some of the most popular fillings include:
- Shredded chicken or beef.
- Black beans with cheese.
- Avocado with a squeeze of lime.
- Scrambled eggs for a breakfast option.
The beauty of arepas is their adaptability, so feel free to get creative with your favorite ingredients!
7. How do Venezuelan and Colombian arepas differ?
Venezuelan arepas are typically thicker and are often stuffed with a variety of fillings, making them a hearty meal. Colombian arepas tend to be thinner and simpler, usually topped with butter or cheese and served as a side dish.
8. Can I make Homemade Arepas sweet instead of savory?
Absolutely! Adding sugar or panela to the dough creates a sweet variation. You can also top them with honey, fruit, or cream for a dessert-like treat.
9. What do I do if my arepas are undercooked inside?
If your arepas are crispy on the outside but undercooked inside, finish them in a preheated oven at 350°F (175°C) for about 10 minutes. This ensures even cooking without burning the crust.
10. Can arepas be grilled or fried instead of pan-cooked?
Yes! Arepas can be grilled for a smoky flavor or deep-fried for a crispy exterior. Fried arepas are especially popular in some regions, offering a richer taste and texture.
11. What can I pair with homemade arepas?
Arepas pair wonderfully with a variety of dishes, including:
- Soups like sancocho or chicken stew.
- Dips such as guacamole, sour cream, or salsa.
- Beverages like coffee or freshly squeezed juices.
Conclusion
homemade Arepas are a culinary treasure that brings the warmth and flavors of Latin America into your home. Their simplicity, versatility, and rich cultural heritage make them a beloved dish around the world. Whether you’re enjoying a plain arepa with butter, a stuffed arepa filled with savory meats, or a sweet arepa topped with honey, these delightful cornmeal cakes offer endless possibilities to suit every palate.
From mastering the basics of the dough to exploring creative variations and pairings, making homemade arepas is a fulfilling experience that combines tradition with innovation. With just a few ingredients and simple tools, you can create a dish that is not only delicious but also deeply rooted in history and community.
So, gather your ingredients, heat up your skillet, and start crafting these versatile treats. Whether it’s for breakfast, a quick snack, or a hearty dinner, arepas are sure to become a favorite in your kitchen.

