
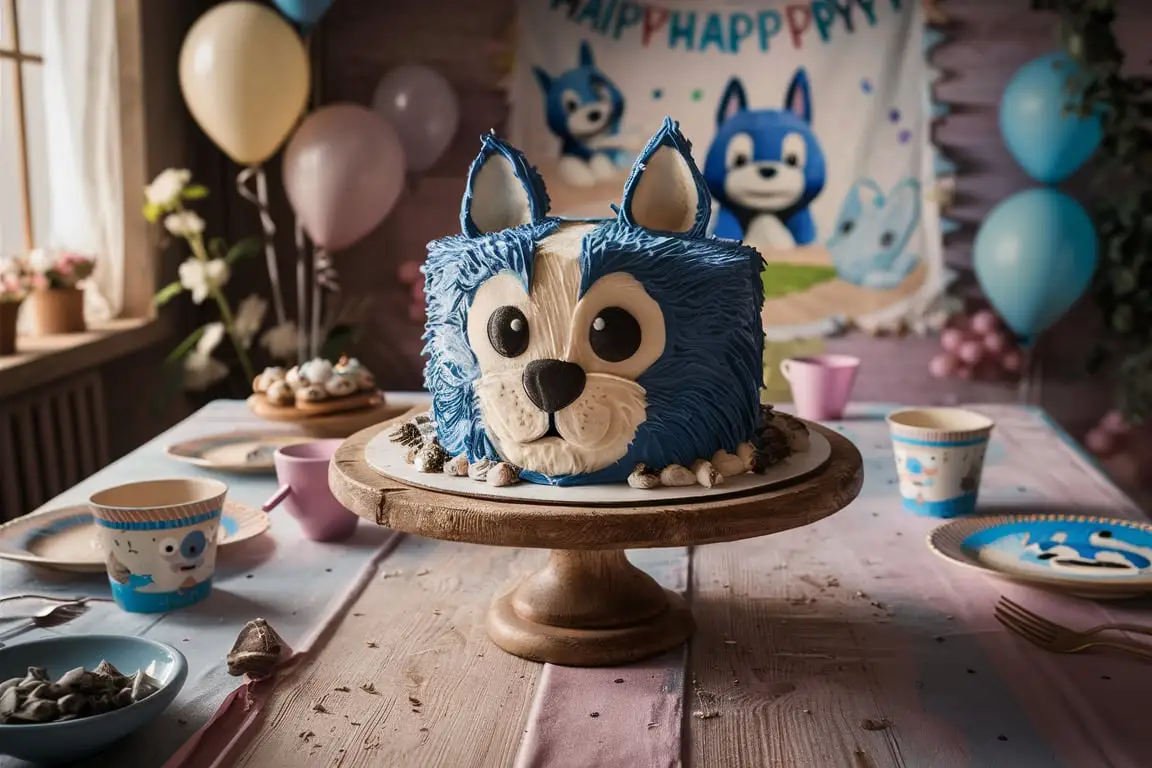
If you’re planning a Bluey-themed party, nothing will impress your guests more than a homemade Bluey cake. Inspired by the hit Australian children’s show, this cake is a favorite among kids and parents alike. In this guide, we’ll walk you through everything you need to know, from choosing the best cake base to decorating it like a pro. Whether you’re a beginner or an experienced baker, you’ll find all the tips and tricks you need to create a stunning Bluey cake at home.
Table of Contents
What is a Bluey Cake?
The Popularity of Bluey and Why It’s a Party Favorite
Bluey, the lovable Blue Heeler pup from the popular animated TV show, has captured the hearts of children worldwide. The show’s fun storytelling, vibrant colors, and relatable family dynamics make it a favorite among kids and parents. Naturally, Bluey-themed birthday parties have become increasingly popular, and a Bluey cake is often the centerpiece of these celebrations.
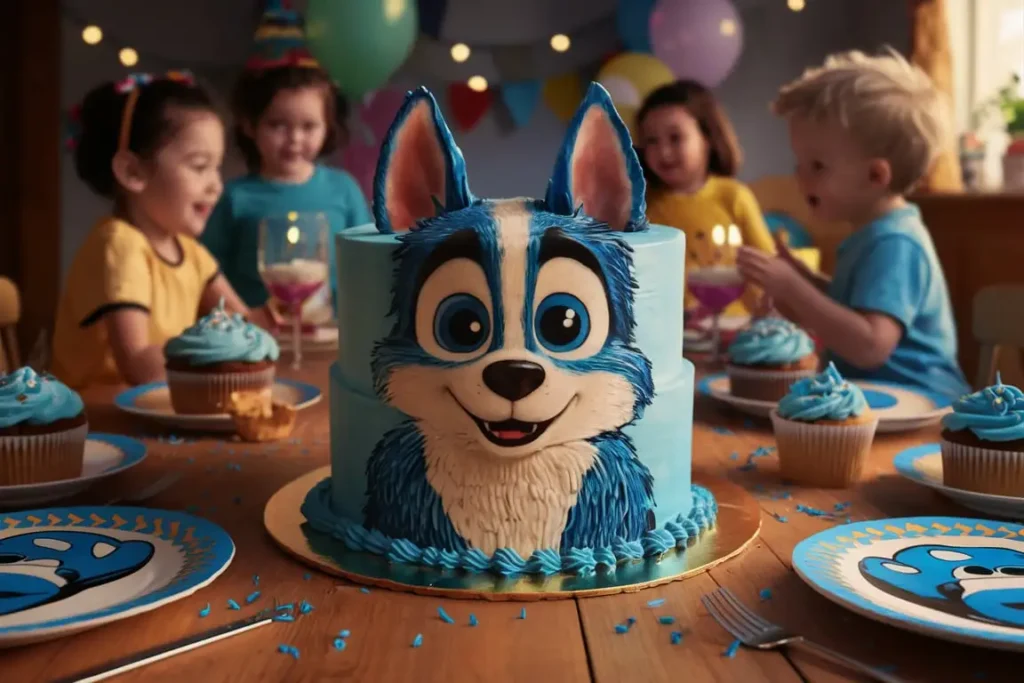
A Bluey cake is a beautifully designed cake inspired by the show’s main character, featuring Bluey’s signature blue fur, cute ears, and playful expression. Some cakes replicate Bluey’s face, while others feature full-body designs or even 3D sculpted cakes.
Key Features of a Bluey Cake
A well-made Bluey cake typically includes:
- Vibrant Bluey colors – A mix of light blue, dark blue, and tan shades to resemble the character.
- Buttercream or fondant decoration – Smooth finishes or piped details to bring Bluey’s features to life.
- Themed cake toppers – Some cakes include fondant figurines or edible images of Bluey and her family.
- Creative designs – Ranging from simple sheet cakes with edible images to 3D sculpted masterpieces.
Whether you’re making a classic Bluey face cake or a more advanced 3D version, the key is capturing Bluey’s cheerful and playful look.
Essential Ingredients and Tools for a Bluey Cake
Before you start baking, it’s essential to gather all the necessary ingredients and tools. Depending on your skill level and design choice, you may opt for a simple buttercream cake or a more intricate fondant-covered masterpiece.
Cake Base Options: Vanilla, Chocolate, or Funfetti?
The cake itself can be any flavor you prefer, but some popular choices include:
- Vanilla sponge cake – A classic, fluffy, and light base that pairs well with any frosting.
- Chocolate cake – Rich and indulgent, perfect for chocolate lovers.
- Funfetti cake – A playful choice that adds colorful sprinkles to the batter, making it extra fun for kids.
For a Bluey-colored surprise inside, consider using blue food coloring to create blue and white marble layers.
Frosting Choices: Buttercream vs. Fondant
- Buttercream frosting – Ideal for beginners, as it’s easy to spread and pipe. It also provides a soft, creamy texture that kids love.
- Fondant – Best for creating a smooth, polished look. Fondant is great for intricate details like Bluey’s ears, eyes, and facial features.
If you’re using buttercream, you’ll need different shades of blue, white, and black food coloring to match Bluey’s colors.
Special Decorations for a Perfect Bluey Look
To achieve the perfect Bluey design, you’ll need:
- Gel food coloring (light blue, dark blue, tan, black, and white).
- Piping bags and nozzles for detailing Bluey’s features.
- Fondant or modeling chocolate for sculpted decorations.
- Cake toppers or edible images (optional, for a quicker method).
Step-by-Step Guide: How to Make a Bluey Cake
Now that we have all the ingredients and tools ready, let’s dive into the step-by-step process of making a stunning Bluey cake.
Step 1: Preparing the Cake Layers
- Preheat your oven to 350°F (175°C) and grease two 8-inch round cake pans.
- Mix the cake batter according to your chosen recipe (vanilla, chocolate, or funfetti).
- Divide the batter evenly between the cake pans. If making a marble effect, mix some blue food coloring into one half of the batter before swirling it together.
- Bake for 25-30 minutes or until a toothpick inserted into the center comes out clean.
- Let the cakes cool completely on a wire rack before moving to the next step.
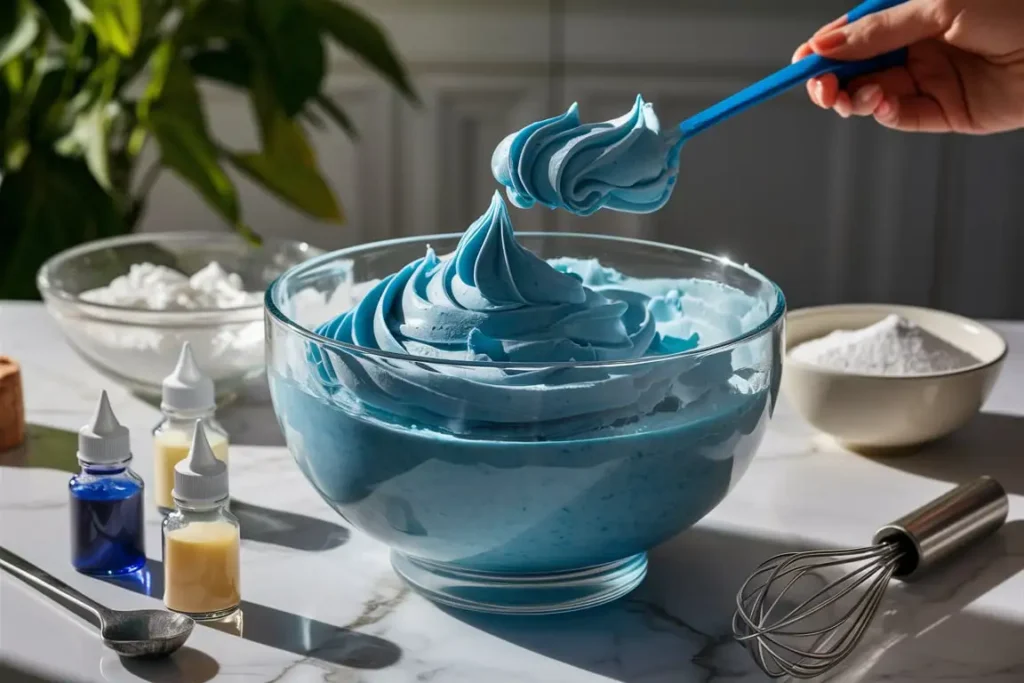
Step 2: Making the Perfect Bluey-Colored Frosting
To get the right Bluey colors, mix buttercream frosting with gel food coloring:
- Light blue for Bluey’s face.
- Dark blue for accents and ears.
- Tan or light orange for the inner ears and eyebrows.
- White and black for the eyes and nose.
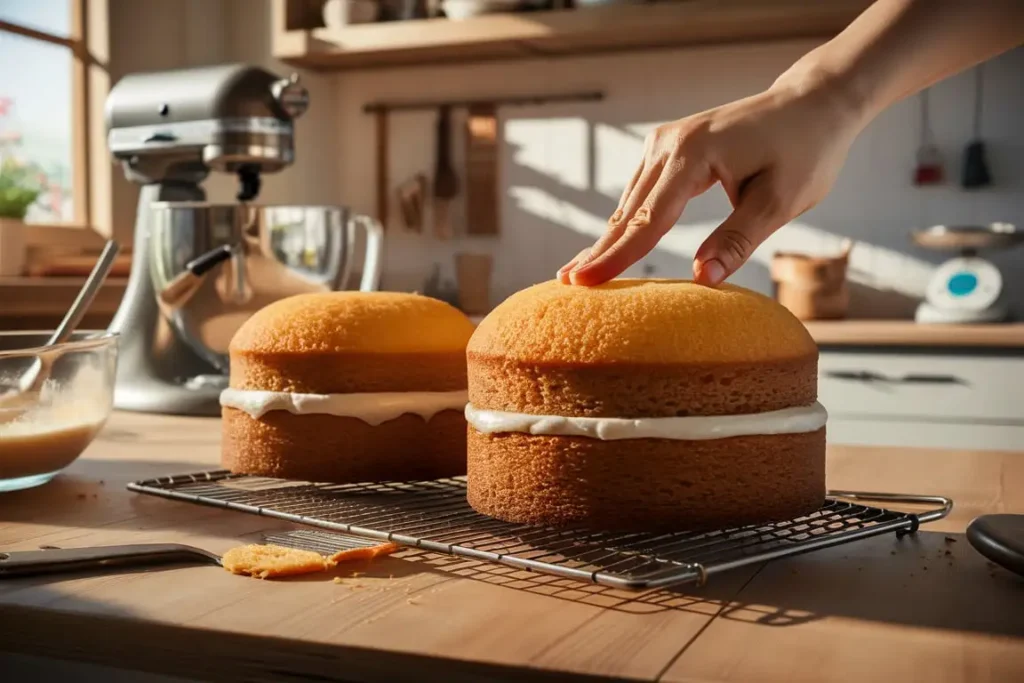
Step 3: Assembling and Crumb Coating the Cake
- Trim the cake layers to ensure a flat surface.
- Stack the cakes with a layer of buttercream in between.
- Apply a thin crumb coat (a light layer of frosting) to seal in crumbs.
- Chill the cake for 20 minutes to set the crumb coat.
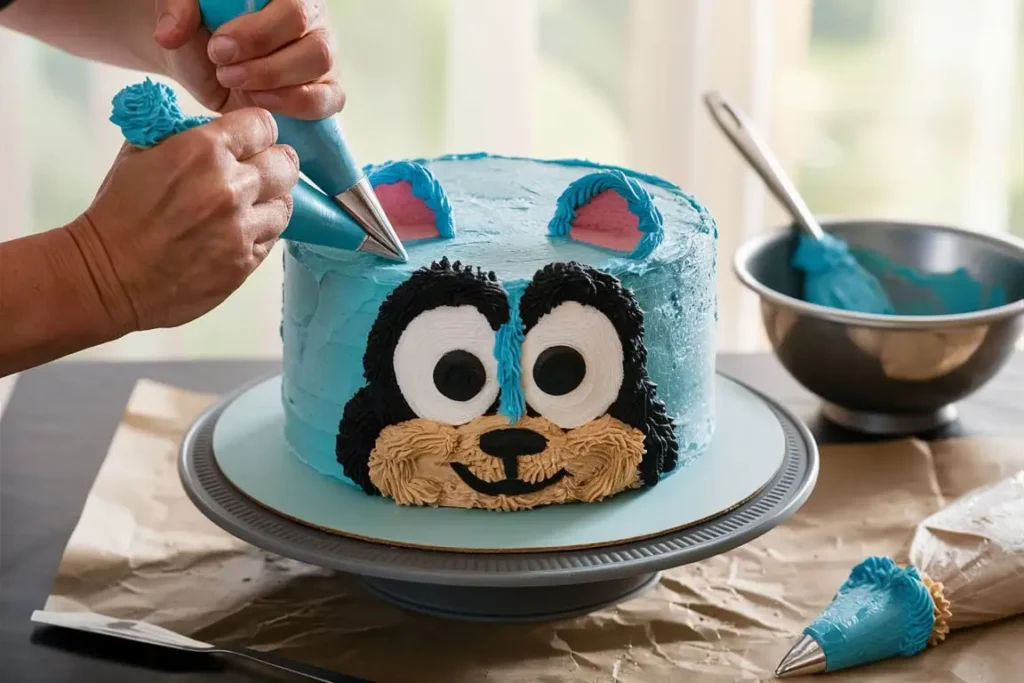
Step 4: Decorating with Bluey’s Signature Features
Now that our cake base is prepped, it’s time for the fun part decorating! This step will bring Bluey to life with carefully crafted details.
1. Creating the Bluey Face Outline
Before applying final frosting details, sketch an outline of Bluey’s face on the cake:
- Use a toothpick or edible marker to lightly trace Bluey’s features.
- Mark the placement of the eyes, nose, mouth, and eyebrows to ensure balance.
2. Applying the Base Colors
Using piping bags filled with different shades of blue buttercream, follow these steps:
- Cover the entire cake with light blue buttercream using an offset spatula.
- Pipe dark blue patches around the ears and top of the head.
- Smooth out the frosting with a spatula or cake scraper for a polished look.
3. Adding Bluey’s Facial Features
To achieve Bluey’s adorable expression:
- Eyes – Pipe two large white circles for the eyes. Once set, add smaller black circles for pupils.
- Eyebrows & Inner Ears – Use tan-colored frosting to pipe the eyebrows and the inside of the ears.
- Nose & Mouth – Pipe a small black oval for the nose and use a thin piping tip to outline the mouth.
- Extra Details – If you want extra accuracy, lightly dust the edges of the eyes and nose with edible black gel for definition.
Step 5: Adding Final Touches for a Stunning Finish
Now that Bluey’s face is complete, let’s add some final decorations to enhance the cake’s appearance.
1. Smoothing & Perfecting the Design
- Use a hot spatula or a cake scraper to gently smooth the frosting for a professional look.
- If needed, touch up any uneven areas with a fine piping tip.
2. Adding a Fondant Bluey Topper (Optional)
If you want to take your cake to the next level, you can create a fondant Bluey topper:
- Roll out blue fondant and cut out Bluey’s ears and nose.
- Use edible food pens to draw facial details for extra precision.
- Place the topper on the cake for a 3D effect.
3. Themed Decorations & Extras
For extra flair, consider adding:
- Blue and yellow sprinkles around the cake base.
- A “Happy Birthday” topper featuring Bluey’s name.
- Mini paw prints piped onto the sides of the cake.
Bluey Cake Design Ideas and Variations
There are many ways to customize your Bluey cake! Here are a few fun variations:
1. Simple Bluey-Themed Cake for Beginners
- Use a sheet cake instead of a round cake.
- Decorate with an edible Bluey image instead of piping.
- Pipe a simple blue border for a neat finish.
2. Advanced 3D Bluey Cake for Experienced Bakers
- Sculpt cake layers into Bluey’s full body shape.
- Use fondant panels to create a realistic fur texture.
- Add Bluey’s sister, Bingo, for a complete design.
3. Cupcake and Mini-Cake Versions of Bluey Cake
- Make Bluey-themed cupcakes with blue frosting and edible eyes.
- Create a mini Bluey cake for smash cakes or small celebrations.
Pro Tips for a Professional-Looking Bluey Cake
Want to make your cake look bakery-level? Here are some expert tips:
1. How to Achieve the Perfect Bluey Color Shades
- Use gel food coloring instead of liquid coloring to avoid a runny consistency.
- Mix a small amount of white frosting into the blue for a pastel shade.
2. Best Piping Techniques for a Smooth Finish
- Keep your piping bag at a 45-degree angle for precise lines.
- Use a fine round piping tip for small details like the mouth and nose.
3. Common Mistakes and How to Avoid Them
| Mistake | Solution |
|---|---|
| Frosting is too soft | Chill it in the fridge for 10 minutes before piping. |
| Colors bleed together | Let each layer set before adding details. |
| Cake crumbles when frosting | Apply a crumb coat and let it chill before final frosting. |
Where to Buy a Bluey Cake if You Don’t Want to DIY
If baking isn’t your thing, don’t worry! You can order a custom Bluey cake from various bakeries.
1. Custom Bakeries That Make Bluey Cakes
- Local bakeries often take custom orders with 1-2 weeks’ notice.
- Cake decorators on Etsy sell pre-made Bluey cake toppers.
2. How to Order a Bluey Cake Online
- Check websites like Walmart, Costco, or specialty cake shops for themed cakes.
- Use Instagram or Facebook to find local bakers who offer custom designs.
Frequently Asked Questions (FAQs)
1. Can I make a Bluey cake without food coloring?
Yes! Use natural food dyes like spirulina (blue-green) or butterfly pea powder.
2. How far in advance can I prepare a Bluey cake?
You can bake the cake 2 days in advance and frost it the day before serving.
3. What’s the best way to store a Bluey cake?
Store in an airtight container in the fridge for up to 3 days. Bring to room temperature before serving.
4. Can I make a dairy-free or gluten-free Bluey cake?
Yes! Substitute almond milk and vegan butter for a dairy-free version, and use gluten-free flour for a GF-friendly cake.
Conclusion: Create a Memorable Bluey Cake for Any Occasion
Making a Bluey cake at home is a fun and rewarding experience, whether you’re a beginner or a pro. With the right techniques, ingredients, and creativity, you can create a stunning Bluey cake that will impress guests and delight any Bluey fan. Whether you go for a simple buttercream cake, a 3D masterpiece, or fun cupcakes, the key is to enjoy the process and make it your own.
Now it’s your turn! Try making your own Bluey cake and share your results. Happy baking!